2024.05.21 - [Canvas] - [Canvas] svg 필터 입히기(feGaussianBlur, feColorMatrix) | Gooey Effect
[Canvas] svg 필터 입히기(feGaussianBlur, feColorMatrix) | Gooey Effect
2024.05.20 - [Canvas] - [Canvas] 파티클 그리기 | 애니메이션 추가(requestAnimationFrame) [Canvas] 파티클 그리기 | 애니메이션 추가(requestAnimationFrame)* 현재 js 코드 *const ctx = canvas.getContext('2d')const dpr = widdow.devi
gamzaggang7.tistory.com
dat.GUI는 js 라이브러리로, 웹 애플리케이션의 변수들을 실시간으로 조작할 수 있는 UI를 생성하는 도구이다. 슬라이더, 체크박스, 드롭다운 메뉴 등을 통해 변수 값을 실시간으로 조절할 수 있다. 이전에 생성한 캔버스 파티클에 dat.GUI를 사용해보자.
먼저 라이브러리를 가져온다. 아래 사이트에서 min 버전으로 script tag를 복사하고 html의 header안에 붙여넣는다.
https://cdnjs.com/libraries/dat-gui
dat-gui - Libraries - cdnjs - The #1 free and open source CDN built to make life easier for developers
A lightweight graphical user interface for changing variables in JavaScript. - Simple. Fast. Reliable. Content delivery at its finest. cdnjs is a free and open-source CDN service trusted by over 12.5% of all websites, serving over 200 billion requests each
cdnjs.com
js에서 dat.gui를 불러온다. 컨트롤 패널에서 변화를 주기위한 값들을 정의해야 한다.
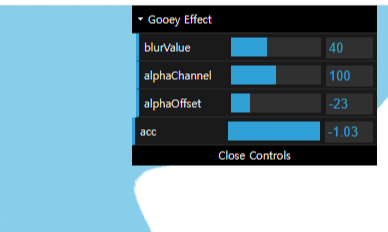
blurChannel의 값은 feGaussianBlur에서 변경했던 값 40이고, alphaChnnel, alphaOffset은 각각 feColorMatrix에서 변경했던 값 100, -23이다.
dat.GUI를 담은 변수를 생성하면 화면 오른쪽 상단에 패널이 생긴다.
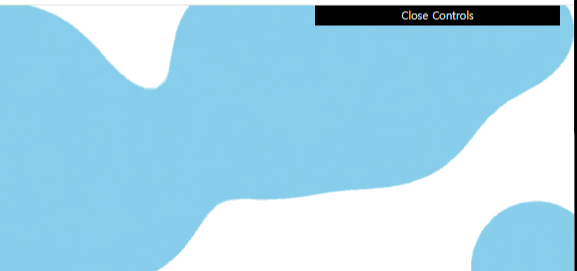
여기에 gui.add를 이용해 하나씩 패널을 추가한다.
우선 js에 feGaussianBlur 태그와 feColorMatrix 태그를 가져온다.
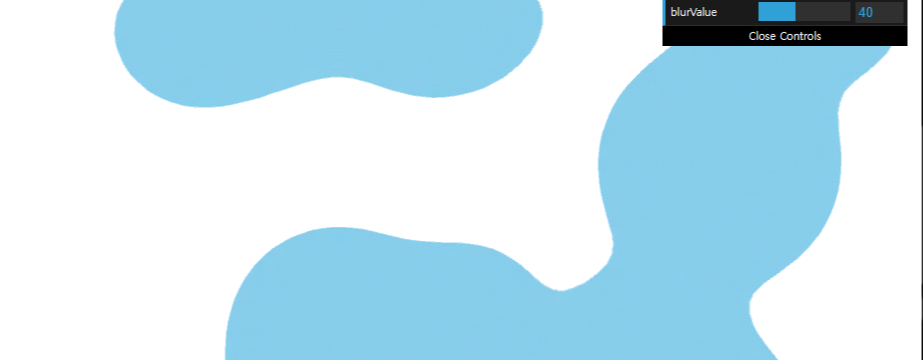
gui.add로 새 컨트롤을 GUI에 추가할건데 먼저 blurValue부터 추가해보자. add 메서드는 차례대로 컨트롤할 객체, 추가할 컨트롤의 이름(객체에 있는 속성), 슬라이더의 최소값과 최대값을 인자로 받는다.
여기에 onChange메서드로 값이 변경되면 svg 값이 변경되도록 한다.
onChange 메서드는 값이 변경될 때 호출되는 콜백 함수를 정의한다. value는 슬라이더의 현재 값을 나타내며, feGaussianBlur 요소의 stdDeviation 속성에 value 값을 설정한다.
alphaChannel 패널도 추가한다.

마지막으로 alphaOffset도 추가한다.
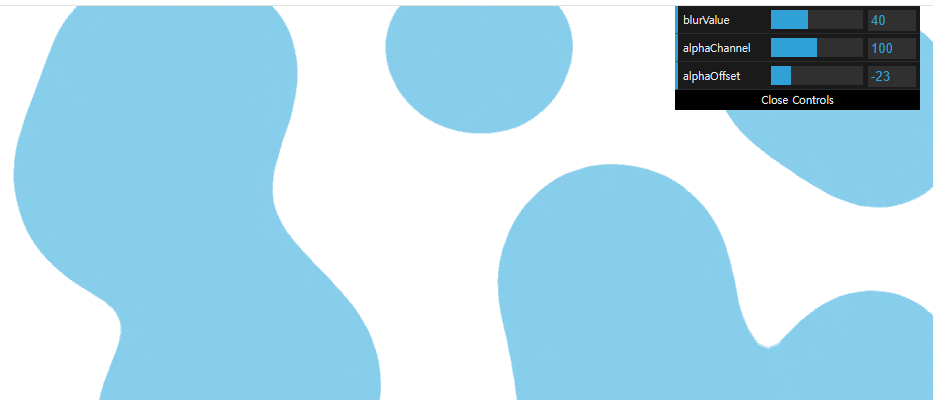
이렇게 하면 alphaChannel, alphaOffset 슬라이더가 동일한 속성을 업데이트하므로 하나의 값을 변경하면 다른 슬라이더의 값을 덮어쓰는 문제가 발생한다. 그렇기 때문에 alphaChannel에서는 마지막 값을 controls.alphaOffset 값으로, alphaOffset에서는 4번째 값을 controls.alphaChannel 값으로 넣어준다.
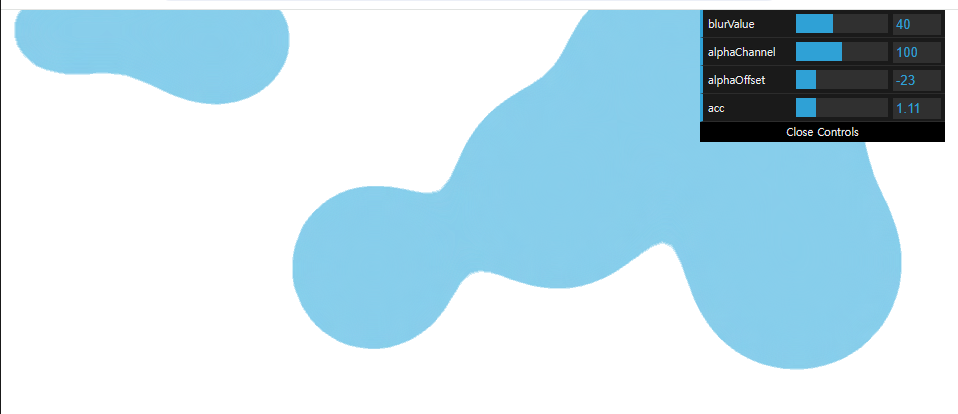
gui에 파티클의 가속도 값도 추가해보자.
controls에 this.acc를 추가한다.
gui.add로 가속도 컨트롤을 추가한다.
add()의 5번째 인자는 스텝 값으로 슬라이더를 움직일 때 변경되는 단위이다.
여러개의 파티클을 forEach로 돌아 모든 파티클의 acc값을 value로 변경한다.
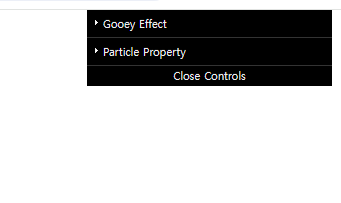
패널 위에서 3개는 gooey 효과와 관련된 것들이니까 폴더로 넣는다. 폴더는 gui.addFolder 메서드를 사용해서 만들 수 있다.
Gooey Effect 이름의 폴더를 만든다.
그리고 아까 만들었던 blurValue, alphaChannel, alphaOffset을 gui가 아닌 f1에 add한다.

파티클 속성도 따로 폴더를 생성해 넣어주자.
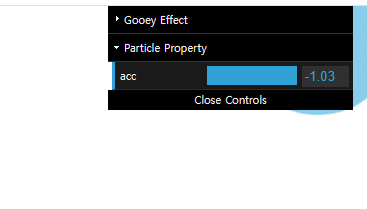
폴더가 열려있게 하고 싶다면 open()을 사용하면 된다.
* 최종 js 코드 *
const canvas = document.querySelector('canvas')
const ctx = canvas.getContext('2d')
const dpr = window.devicePixelRatio

const canvasWidth = innerWidth
const canvasHeight = innerHeight

canvas.style.width = canvasWidth + 'px'
canvas.style.height = canvasHeight + 'px'

canvas.width = canvasWidth * dpr
canvas.height = canvasHeight * dpr
ctx.scale(dpr, dpr)

const feGaussianBlur = document.querySelector('feGaussianBlur')
const feColorMatrix = document.querySelector('feColorMatrix')

const controls = new function () {
  this.blurValue = 40
  this.alphaChannel = 100
  this.alphaOffset = -23
  this.acc = -1.03
}

let gui = new dat.GUI()

const f1 = gui.addFolder('Gooey Effect')
f1.open()
const f2 = gui.addFolder('Particle Property')

f1.add(controls, 'blurValue', 0, 100).onChange(value => {
  feGaussianBlur.setAttribute('stdDeviation', value)
})
f1.add(controls, 'alphaChannel', 1, 200).onChange(value => {
  feColorMatrix.setAttribute('values', `1 0 0 0 0  0 1 0 0 0  0 0 1 0 0  0 0 0 ${value} ${controls.alphaOffset}`)
})
f1.add(controls, 'alphaOffset', -40, 40).onChange(value => {
  feColorMatrix.setAttribute('values', `1 0 0 0 0  0 1 0 0 0  0 0 1 0 0  0 0 0 ${controls.alphaChannel} ${value}`)
})
f2.add(controls, 'acc', 1, 1.5, 0.01).onChange(value => {
  particles.forEach(particle => particle.acc = value)
})

class Particle {
  constructor(x, y, r, vy) {
    this.x = x
    this.y = y
    this.r = r
    this.vy = vy
    this.acc = 1.05
  }
  update() {
    this.vy *= this.acc
    this.y += this.vy
  }
  draw() {
    ctx.beginPath()
    ctx.arc(this.x, this.y, this.r, 0, Math.PI / 180 * 360)
    ctx.fillStyle = 'skyblue'
    ctx.fill()
    ctx.closePath()
  }
}

const Total = 15;
const randomNumBetween = (min, max) => {
  return Math.random() * (max - min + 1) + min
}
let particles = []

for (let i = 0; i < Total; i++) {
  const x = randomNumBetween(0, canvasWidth)
  const y = randomNumBetween(0, canvasHeight)
  const r = randomNumBetween(50, 100)
  const vy = randomNumBetween(1, 5)
  const particle = new Particle(x, y, r, vy)
  particles.push(particle)
}

console.log(particles);

let interval = 1000 / 60
let now, delta
let then = Date.now()

function animate() {
  window.requestAnimationFrame(animate)
  now = Date.now()
  delta = now - then

  if (delta < interval) return

  ctx.clearRect(0, 0, canvasWidth, canvasHeight)

  particles.forEach(particle => {
    particle.update()
    particle.draw()

    if (particle.y - particle.r > canvasHeight) {
      particle.y = -particle.r
      particle.x = randomNumBetween(0, canvasWidth)
      particle.r = randomNumBetween(50, 100)
      particle.vy = randomNumBetween(1, 5)
    }
  })

  then = now - (delta & interval)
}

animate()'Canvas' 카테고리의 다른 글
| [Canvas] 보일러 플레이트 작성 (캔버스 클래스) (0) | 2024.05.24 |
|---|---|
| [Canvas] 캔버스 resize (0) | 2024.05.22 |
| [Canvas] svg 필터 입히기(feGaussianBlur, feColorMatrix) | Gooey Effect (0) | 2024.05.21 |
| [Canvas] 파티클 그리기 | 애니메이션 추가(requestAnimationFrame) (1) | 2024.05.20 |
| [Canvas] window.devicePixelRatio (dpr) (3) | 2024.04.18 |